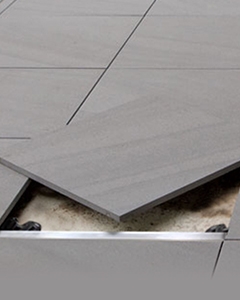
Low Profile Solutions
Convenient And Easy-To-Install Low Profile Ventilated Flooring
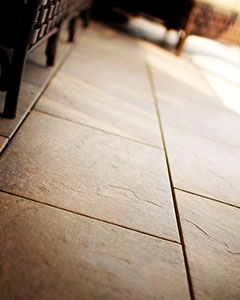
Concrete flooring is no longer an impediment to installing a porcelain tile deck. Mbrico designs outdoor flooring options that can be laid over pre- or post-stressed concrete without sacrificing quality, appearance or structural integrity.
Step 1: Check concrete surface
Make sure concrete surface is clean and dry. This product is designed to be applied over bare concrete with no previous finish or treatment. Please contact Mbrico for alternative installation methods if concrete is not bare.
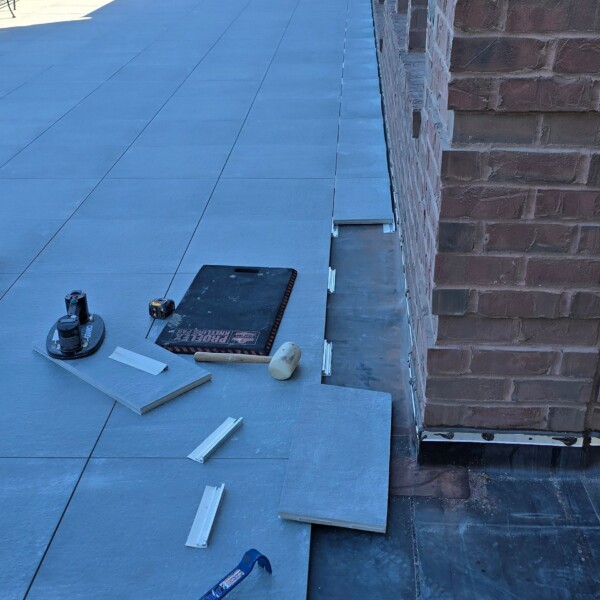
Step 2: Lay out tile placement
Lay out tile placement using Mbrico low profile track for this application. It’s similar to tile layout, with a typical grout application.
Step 3: Spray track locations with 3M Rubber and Vinyl 80 spray
Mark track layout on concrete. Then, spray track locations with 3M Rubber and Vinyl 80 spray approximately 2”-3” (5-7.6 cm) wide and let dry. This is a sealer for the following tape application to provide adhesion to surface with the porosity of the concrete.
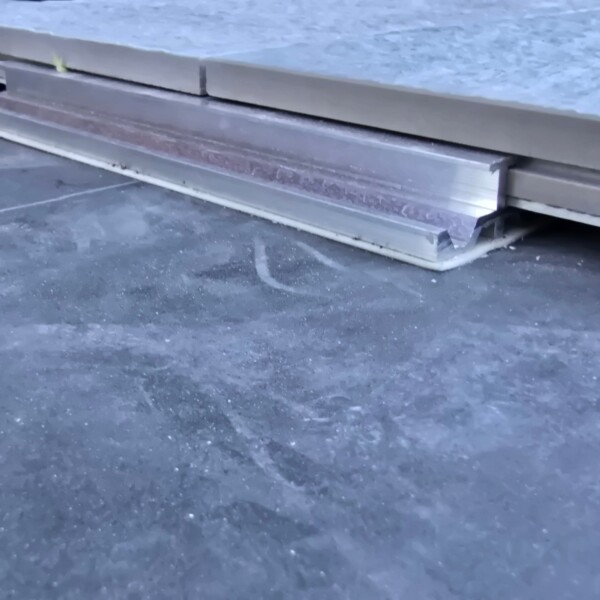
Step 4: Apply the double-sided tape to the bottom of the aluminum tracks.
Then carefully apply the double-sided 2” wide 3M VHB tape to the bottom of the aluminum Mbrico tracks. Leave tape covering on concrete side on until all tiles of that row are in place and the Mbrico track is snug in the tile groove.
Step 5: Remove tape covering and press into concrete.
Remove tape covering and press into concrete, lining up with spray. Continue one row at a time following 3M guidelines.
Step 6: Repeat this placement procedure with low profile.
Repeat this placement procedure with low profile Mbrico T-Track until the last row of tile has been installed.
Step 7: Finish the tile field.
Finish the tile field by installing the final low profile Mbrico L-Track on the finish perimeter.
Step 8: Place aluminum track.
Place aluminum track on 3M tape after tiles are in place, similar to laying a wood floor. Use caution as the 3M tape is very adhesive and creates the bond quickly.
Step 9: Lay 1 row at a time.
Lay 1 row at a time. Ensure Mbrico tracks run the same direction as concrete slope to allow proper drainage.
Step 10: Cut tiles.
If tiles need to be cut during the installation process, re-groove tile where necessary for track installation using Mbrico router bit.
Wind up-lift resistant
Mechanically-fastened systems create an interlocking, free-draining membrane that’s resistant to high winds.
Flame Resistant
Mbrico is manufactured using all flame resistant porcelain components.
Easy-to-install
Each component of a Mbrico Tile Deck is precision cut for accurate coupling of slabs. Any installation becomes remarkably easy for skilled carpentry crews using mechanical fasteners and standard tools.

Frost resistant
Mbrico products absorb virtually no water (only 0.05%), making your Rooftops and Raised Floors virtually unsusceptible to damage or changes in appearance as a result of freezing temperatures.
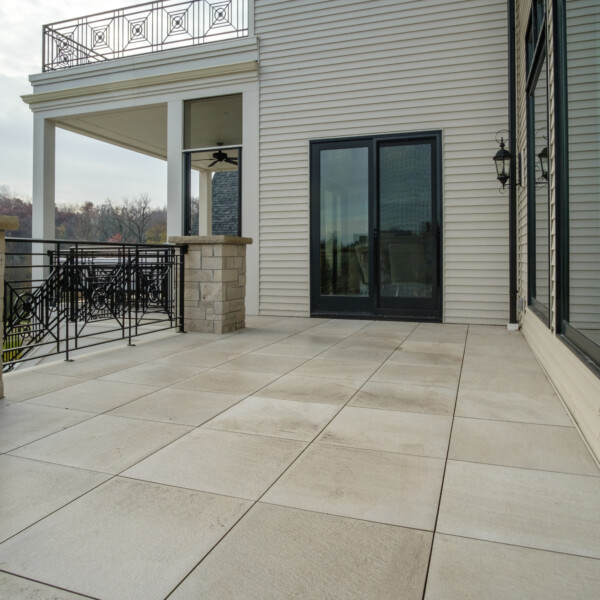
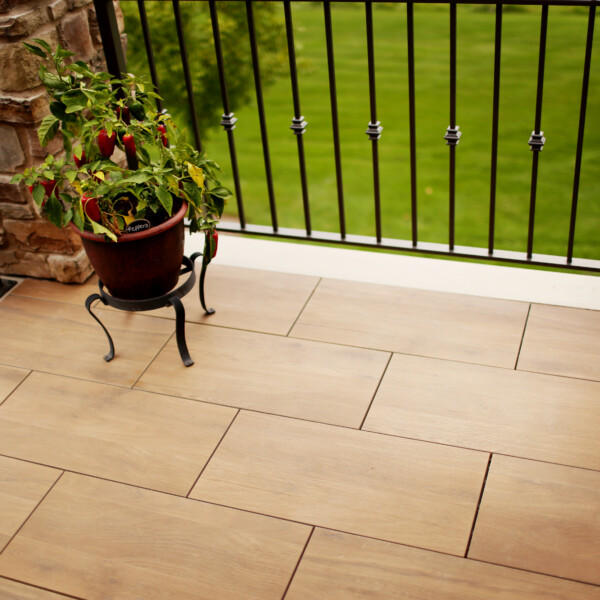
Inspirations