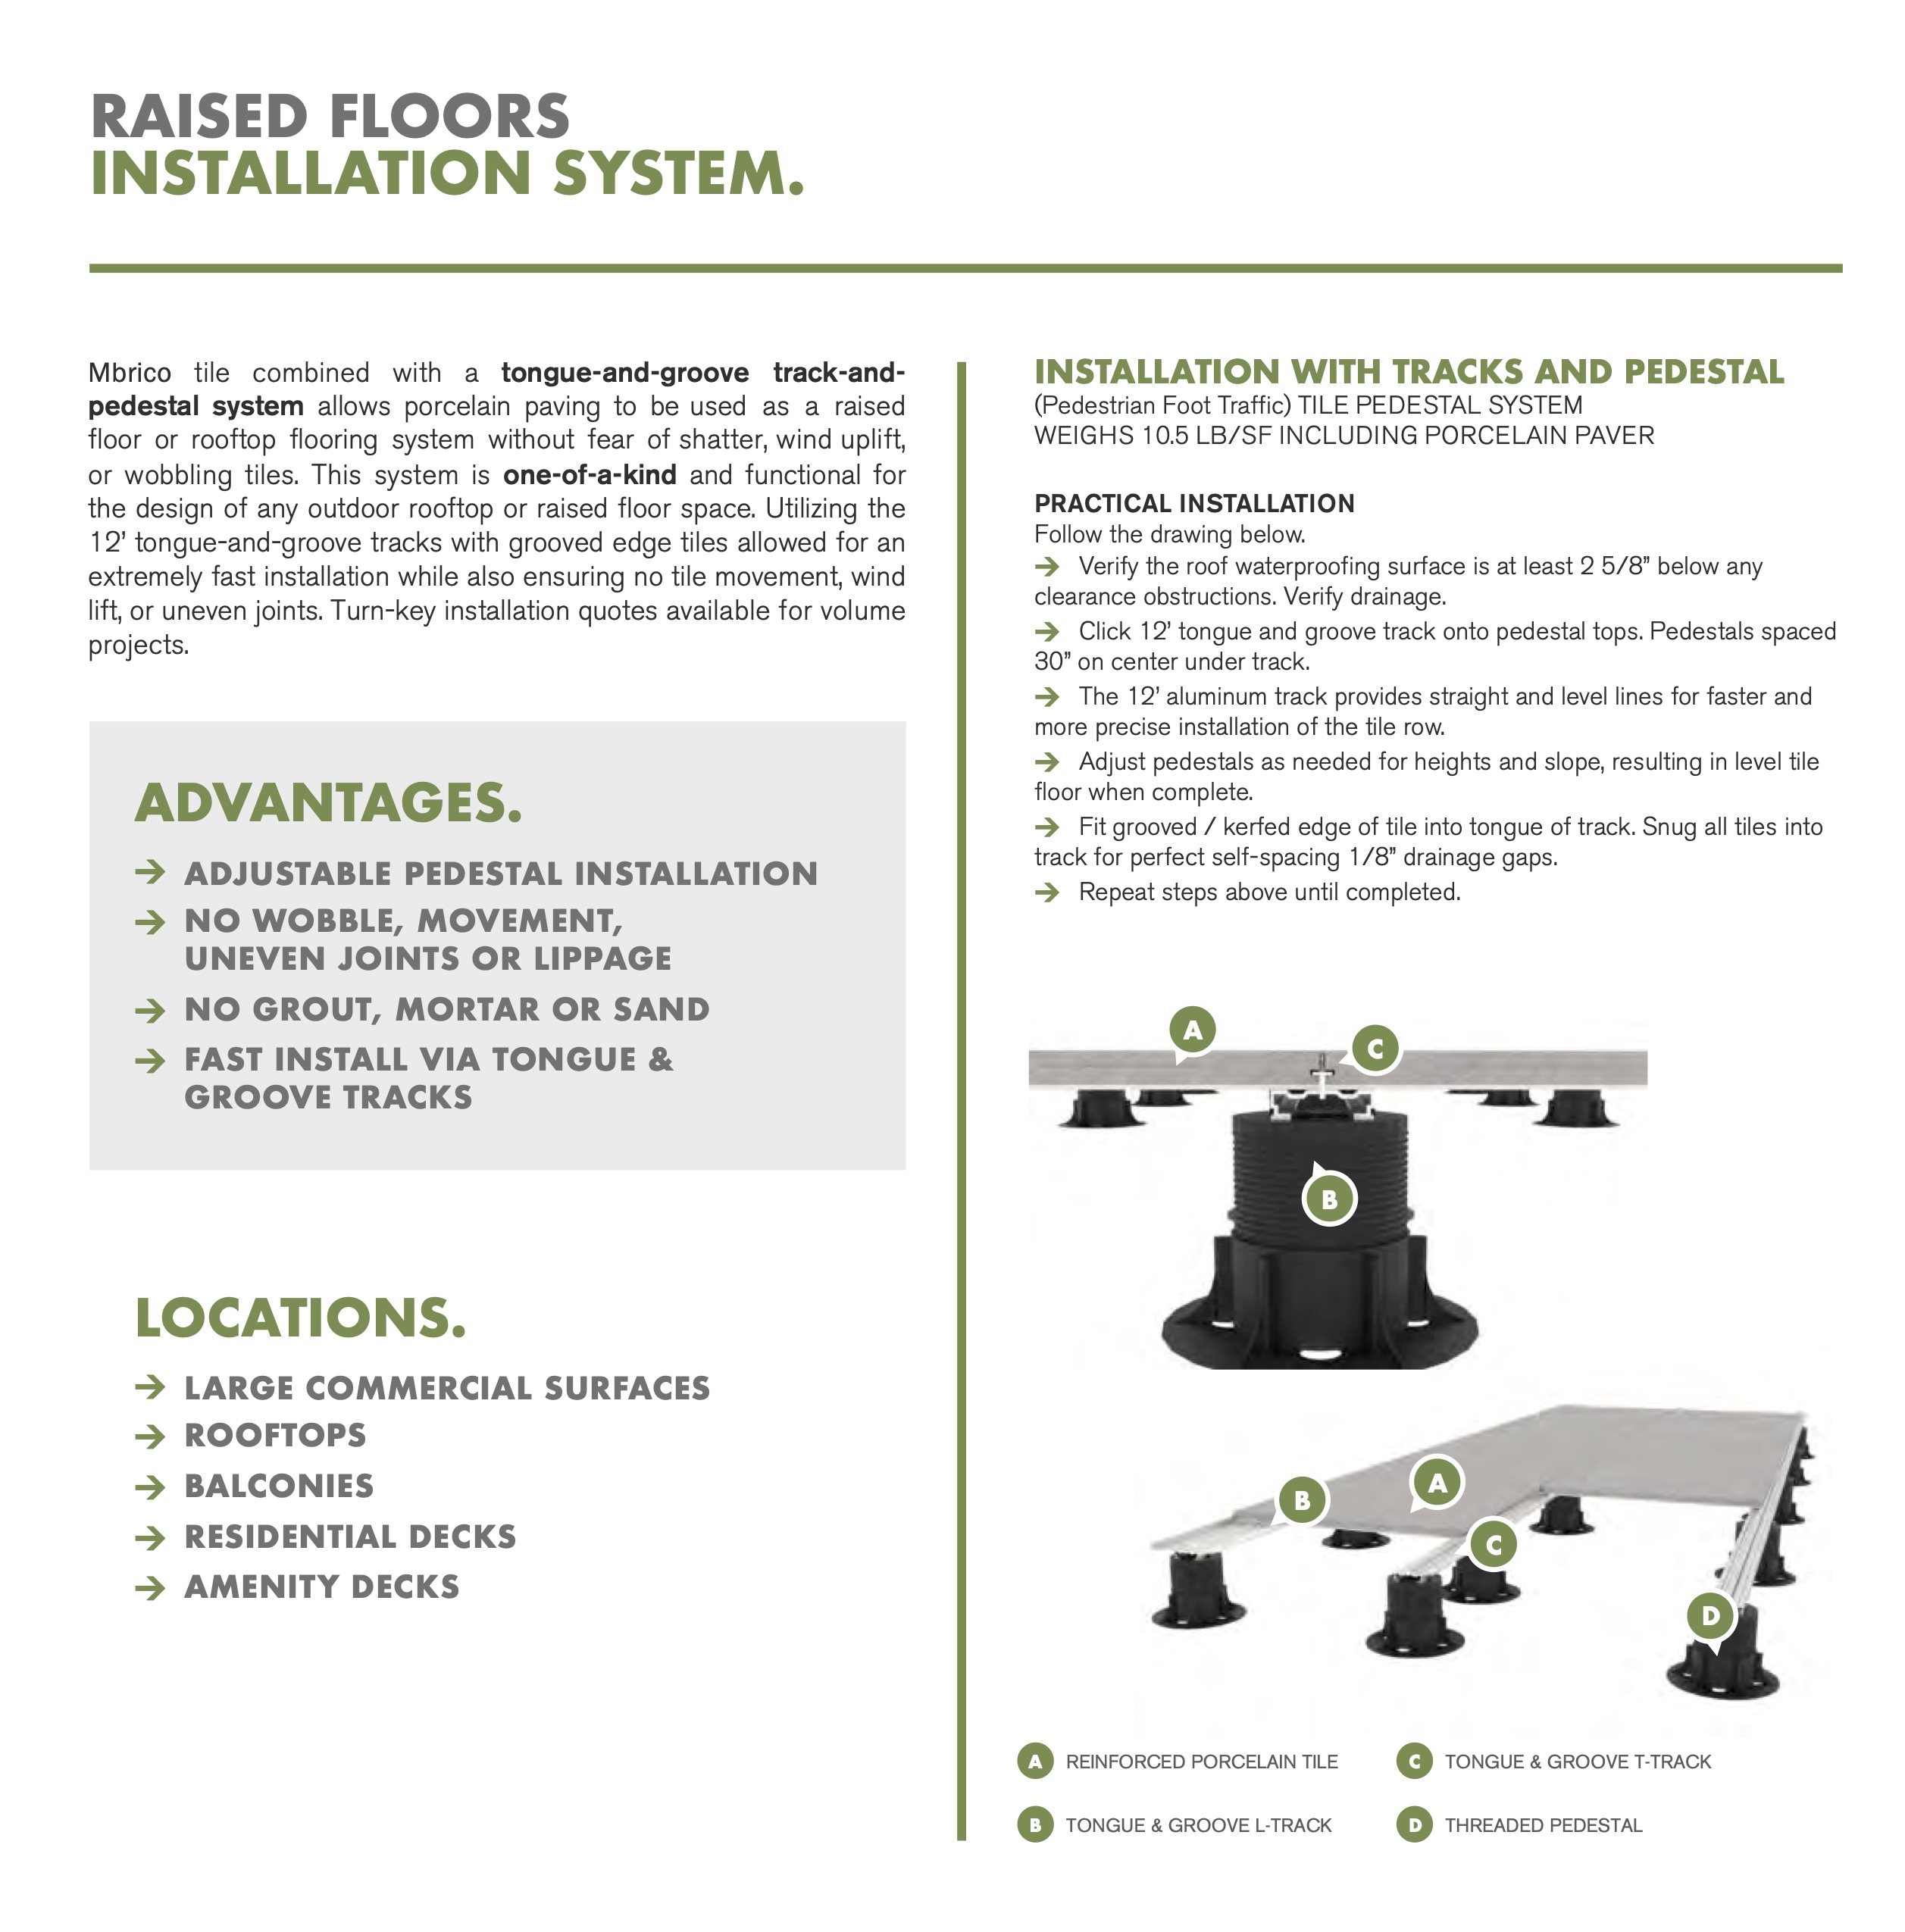
Rooftop & Pedestal System Install
Mbrico’s rooftop and raised floor systems are engineered for high-performance environments where stability, drainage, and wind uplift resistance are critical.
Unlike traditional pedestal paver systems that rely on loose-laid surfaces, Mbrico tiles mechanically lock into a track-based system, creating a structurally aligned, self-spacing, and free-draining assembly.
This installation method delivers a stable, zero-wobble surface designed for rooftop applications where movement, water management, and long-term durability cannot be compromised.
Rooftop Pedestal Install Summary Sheet
Rooftop Pedestal Install Tutorial Video
Engineered for Rooftop Performance
Roof Structure and Substrate
Ensure the flat roof structure and substrate have been properly constructed and meet or exceed all local and national codes. This includes verifying the condition and quality of the roof assembly, slope, structural support, and attachment to surrounding elements.
Mbrico systems are designed to install without penetrating the roof membrane, preserving the integrity of the waterproofing layer and minimizing long-term risk.
Raised Floor System Integration
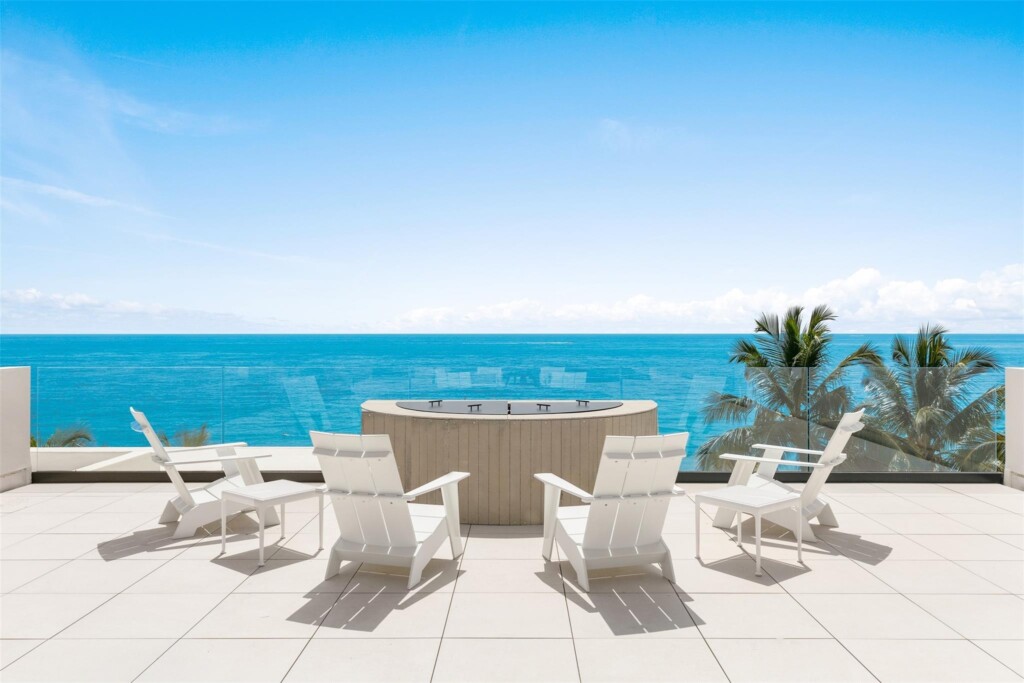
Mbrico rooftop systems are commonly installed over raised pedestal assemblies on flat roof applications, balconies, and large surface areas.
The open-joint design allows water to drain through the surface into the cavity below, while the underlying waterproofing layer directs water away through proper slope.
Pedestal supports are designed with wide bases and rounded edges to protect the roofing membrane and insulation layers, while also allowing space for routing mechanical systems such as piping and wiring beneath the deck surface.
Built for Precision Installation
Mbrico systems are designed for skilled installers using standard tools and methods.
The tongue-and-groove track system ensures consistent spacing, precise alignment, and a stable finished surface without the need for adhesives, grout, or mechanical fastening through the tile surface.
Once installed, the system requires minimal maintenance and eliminates the ongoing refinishing associated with traditional decking materials.
System Design Goals
Mbrico was engineered with two priorities:
Installation
Verify roof is waterproof and clean for installation.
Verify height clearance is at least 2-5/8” or higher (contact salesperson for lower clearance alternatives).
Verify slope of roof deck and all adjoining floors & doorways to ensure correct pedestals were ordered to reach desired finish floor height. Refer to provided Mbrico project shop drawings for pedestal key and color-coded pedestal layout map.
Place first row of pedestals, per provided project layout, at your designated starting edge. Refer to provided Mbrico shop drawing suggested control/starting point for your project. Place pedestals 30” on center.
Adjust pedestal height to meet desired finish floor height (remember to account for the 1-5/8” rack and tile thickness).
Place your Mbrico Offset L-Track into click-adapter on top of pedestal. Press down until track “clicks” into pedestal click adapter.
To join two pieces of tracks together, attach an 8” aluminum sleeve connector with provided stainless screws. Pre-drill and place one screw on each side of 8” sleeve connector. The sleeve connector is used to connect two pieces of 12’ tracks end to end as needed. Note: a pedestal needs to be place at this connection.
Adjust pedestal height to reach desired finish floor elevation. Each pedestal is threaded for adjustment up or down.
Place Mbrico T-Track into click-adapters and press down to “click” tracks into the top of each pedestal. Refer to Step 7 for sleeve connectors attachment as needed.
Slide your Mbrico T-Track and row of pedestals into position. The gap between the 2 prepared tracks should be ½” wider that the width of your ordered tile. For example, if using 24×24” tile, the tracks will be 24.5” apart for this step until fully secured.
Using a 1/8” drill bit, pre-drill track and crossbrace before attaching with provided stainless screws. Repeat attaching crossbrace under the track every 6 foot on center. One stainless screw will be used at each intersection of 12’ track and 12’ cross brace channel. Cross brace channels are installed under the tracks running perpendicular and maintain perfect spacing and gaps in tiles over time.
Place a dab of the provided noise dampening adhesive onto the tracks where all four corners of the tile will sit on each track. The adhesive dab should be approximately the size of a quarter.
Place a row of Mbrico tiles at the designated location in between both rows of track and pedestals.
Using a rubber mallet or dead blow hammer, slide the Mbrico tile, track, and pedestals towards your previous track until all tile grooves are fully seated in the track and your two tracks are snug and parallel. Verifying each tile is snug and tongue and groove is fully engaged allows you to easily maintain perfect spacing as you continue.
Verify with a laser or level that all tiles are sitting level and free from movement before moving to next row.
Attach 12’ crossbrace channel to T-Track. There will be only one screw per intersection of track and crossbrace. Remember to pre-drill track and crossbrace for easier fastening.
Repeat steps 8 through 17 until you reach the final row of tile.
Place final row of pedestals in position and verify all heights and level. Allow for 1 5/8” track and tile thickness for appropriate final system finish floor elevation.
At final row of tile, cut final offset L-Track ½” shorter than the length of 2-3 tiles and place track on top of final row of pedestals. Press down until the track “clicks” into place in the pedestal click adapters.
Using 1 provided screw, pre-drill and attach your final row of tracks to cross brace channel underneath the track.
Place dabs of provided Mbrico adhesive onto the track where all four corners of tiles will sit on tracks.
Slide tile from track end into designated location. Repeat previous 3 steps to complete this segment of tracks.
Repeat steps 20-23 until you reach the final tile.
Cut the bottom lip of the last tile with a porcelain blade. Remove the bottom lip of a grooved edge of a tile.
After applying 4 adhesive dabs on the tracks, slide the final tiles grooved edge into your T-track and gently place down cut edge onto offset L-Track.
For projects with wind uplift requirements, install optional ledger/base around entire Mbrico system perimeter. Ledger/base supplied by others. Materials example: Aluminum, Composite, Masonry. Contact your Mbrico salesperson for details.